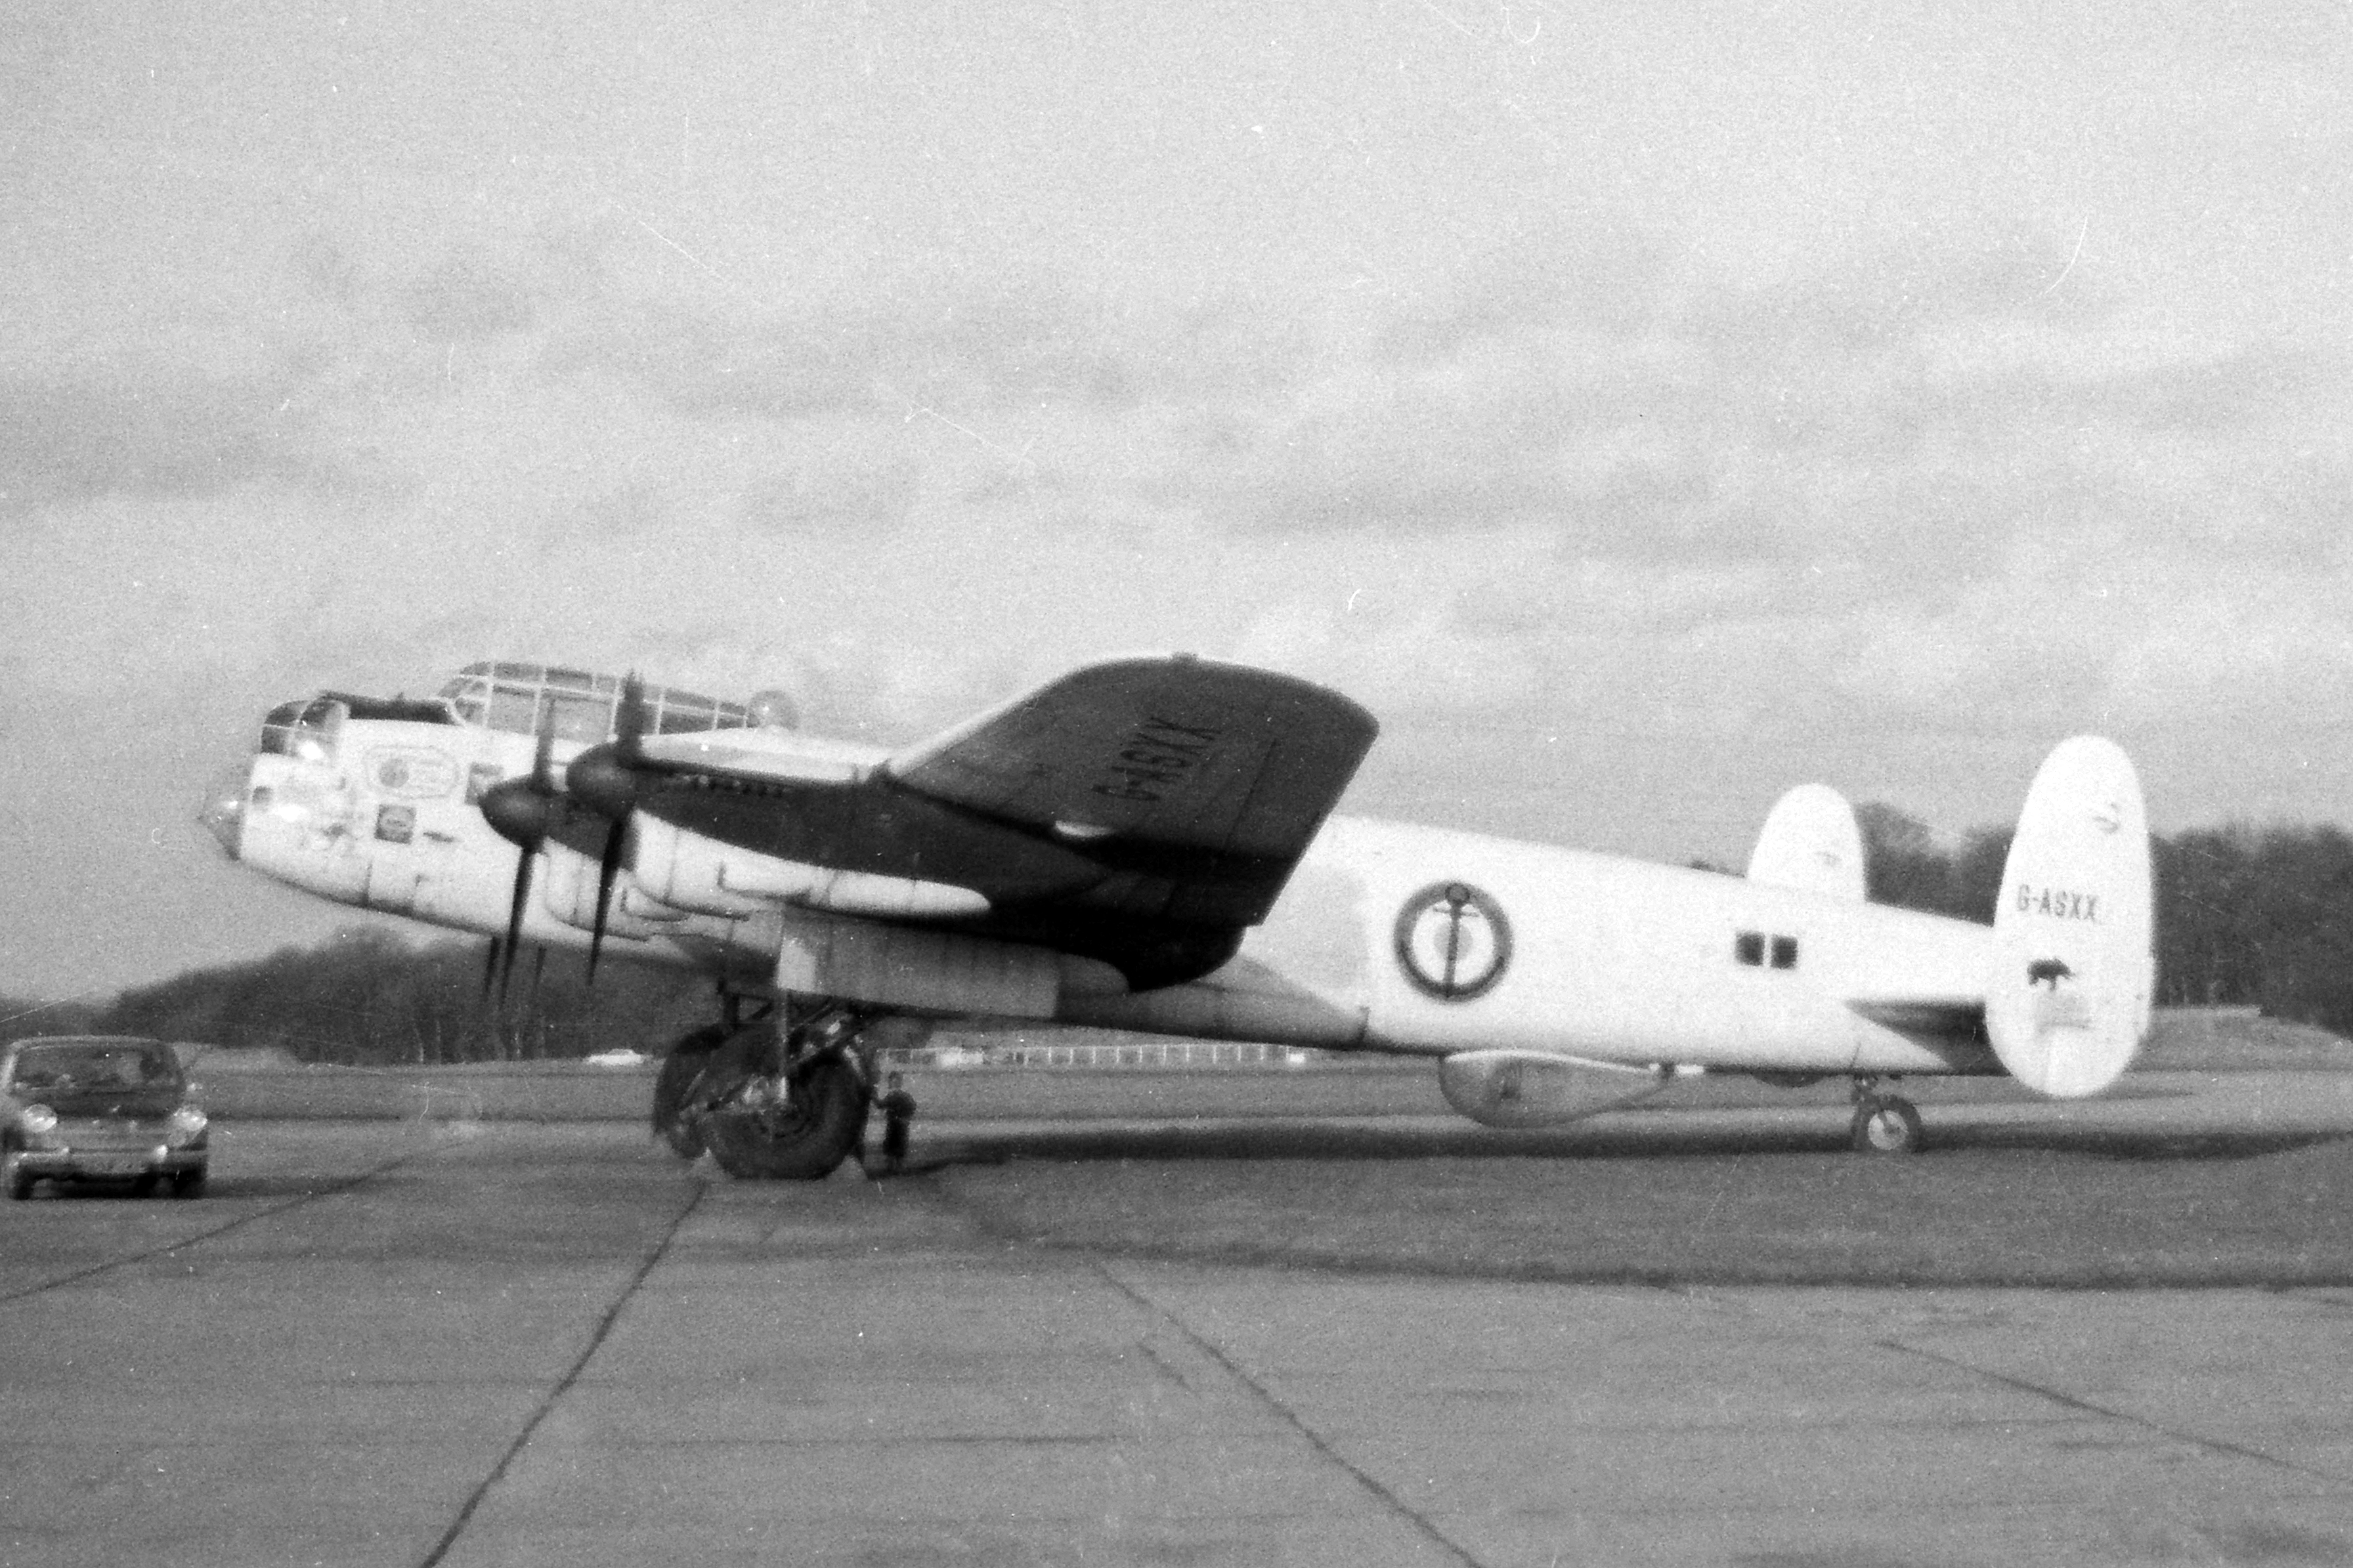
Our aviation photography began more than 50 years ago, with cycle rides from school to local airfields, notably Redhill, Biggin Hill and Gatwick. This story (PDF below) captures something of the variety of aircraft seen at Biggin Hill in the mid-60s.
The Story behind the Photo (4) – Biggin Hill
You must be logged in to post a comment.